W7繪製圖檔和模擬 <<
Previous Next >> W9報告統整
W8建立heroku
以s+學號,建立第一個app(https://s學號.herokuapp.com)
修改路徑
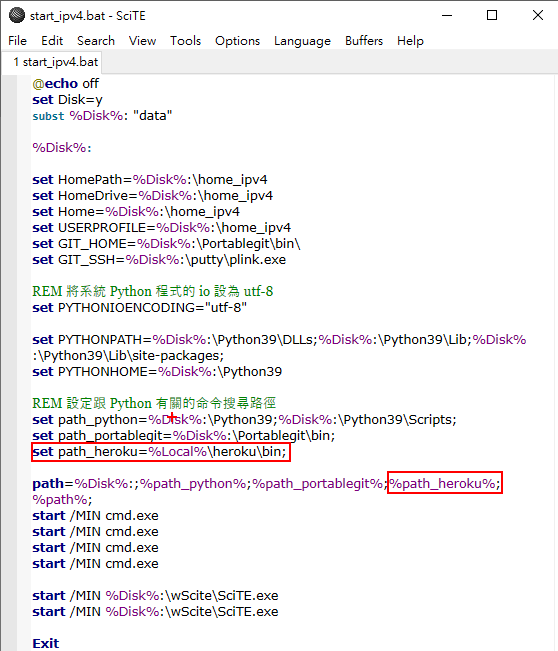
set path_heroku=%Local%\heroku\bin;

%path_heroku%;
重啟後測試是否能執行heroku.exe
打heroku version
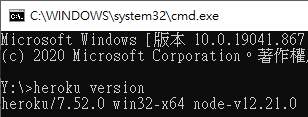
有上面回應就是可以
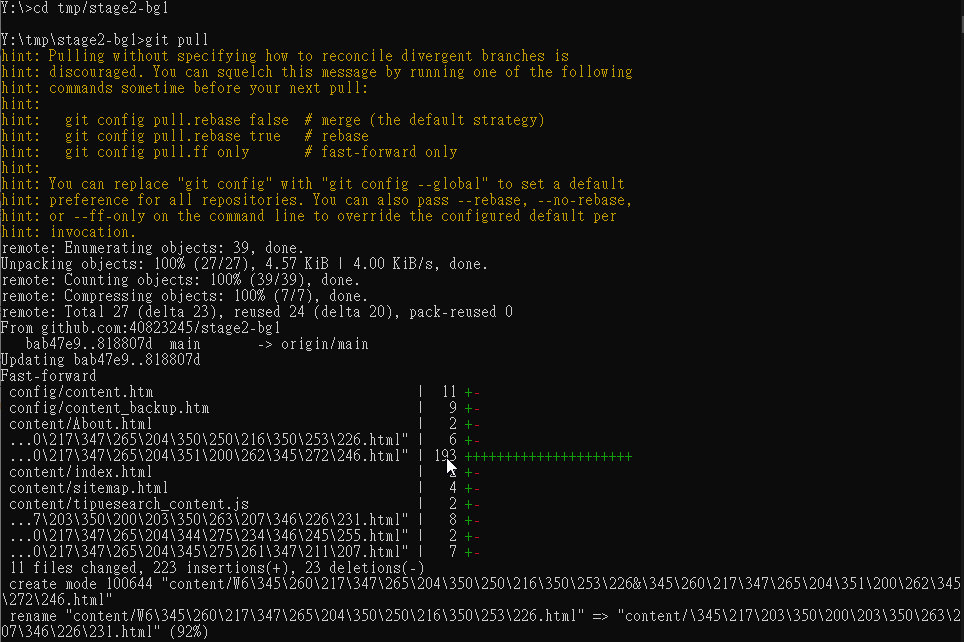
進到tmp>stage2-bg1(自己組)
打git remote add heroku https://git.heroku.com/s40823245.git
可以在.git裡面的config看到

若資料夾裡不是最新的版本要先git pull
heroku指令
在黑窗打指令登錄heroku
heroku login -i
輸入剛剛創heroku帳號的email
輸入heroku密碼

然後打git push heroku
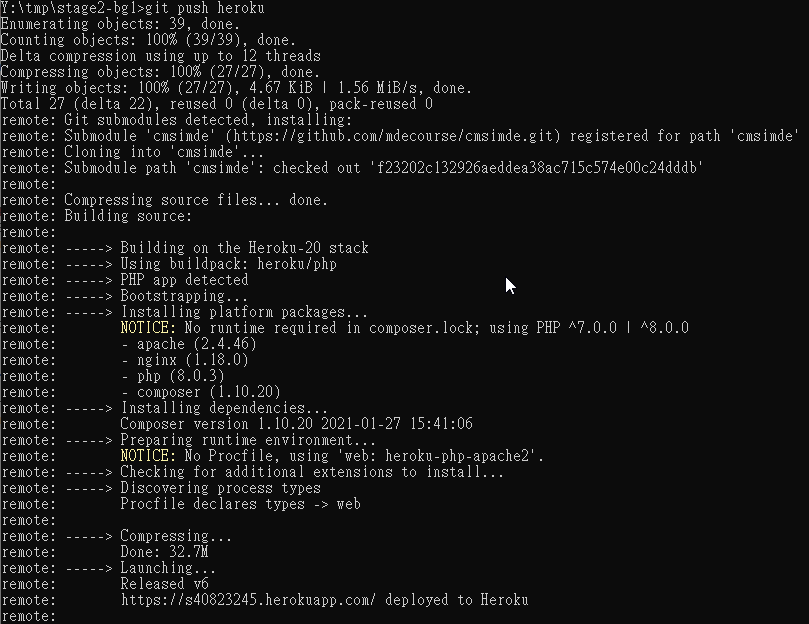
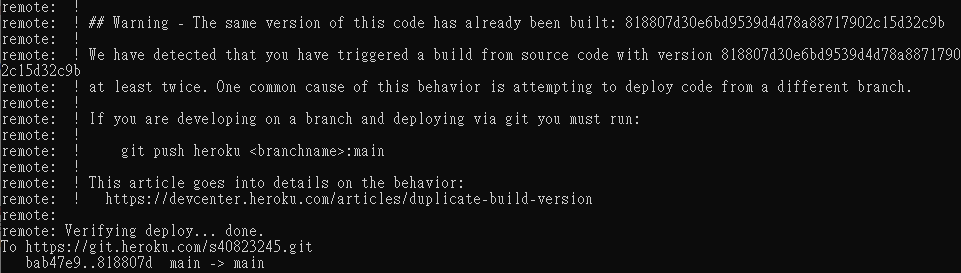
就能在https://s學號.herokuapp.com看到stage2-bg1(自己組)的網站
W7繪製圖檔和模擬 <<
Previous Next >> W9報告統整